
Reference-first setup
Choose a JPEG, PNG or WEBP image from your device to anchor your idea.
Start with a photo and describe the change you want. Set the visual direction, choose a style and keep your reference image in view.
Images you create will appear here.
First image free Original PNG No visible watermark
A PHOTO AS YOUR STARTING POINT
AI image-to-image generation starts with an existing photo and a written instruction for a new visual direction. The reference establishes the subject and composition; your instruction describes what should change and which details matter. Bring both together to explore a different background, style or atmosphere.
The reference can be a product photo, a portrait, an illustration or a scene. Describe the background, lighting, color palette or rendering style you want to explore. Then identify the elements that matter most: the shape of a product, the placement of objects, a person’s pose or the overall framing of the photograph.
A focused image-to-image brief separates the intended changes from the details to retain. Keep the source photo visible alongside your instruction, choose a style and aspect ratio, and refine the wording around your project. This approach gives product styling, portrait directions and artistic reinterpretations a clear visual starting point.
YOUR FIRST STEPS
Choose a JPEG, PNG or WEBP up to 8 MB. Use a photo with a clear subject and visible details.
Say what to change, then name the subject and details you want preserved. Set a target aspect ratio and style.
Confirm your instructions, generate the new image and download the original PNG within 24 hours.
An existing photo gives your creative brief a visual anchor. Describe a new direction while keeping the subject, composition and details you care about in view.
Choose a JPEG, PNG or WEBP image from your device to anchor your idea.
Describe what should change and which subject, proportions or details should be kept.
Review the selected photo alongside your instructions. Replace or remove it as you refine your direction.
For people working with photos they already have, whether the next step is a product setting, a portrait direction or an illustrated interpretation.
Plan new settings for existing product photos. Identify the shape, label and material details to retain in your editing instructions.
Explore a different lighting, background or styling direction. Use the original portrait to explain the expression and features you want to keep.
Develop new visual directions from existing campaign photos. Define the style, atmosphere and composition for your next post or creative brief.
Use a photo as a starting point for illustration, color and texture studies. Describe a new rendering style alongside the elements to preserve.
Creative inspirationPRODUCTS IN A NEW SETTING
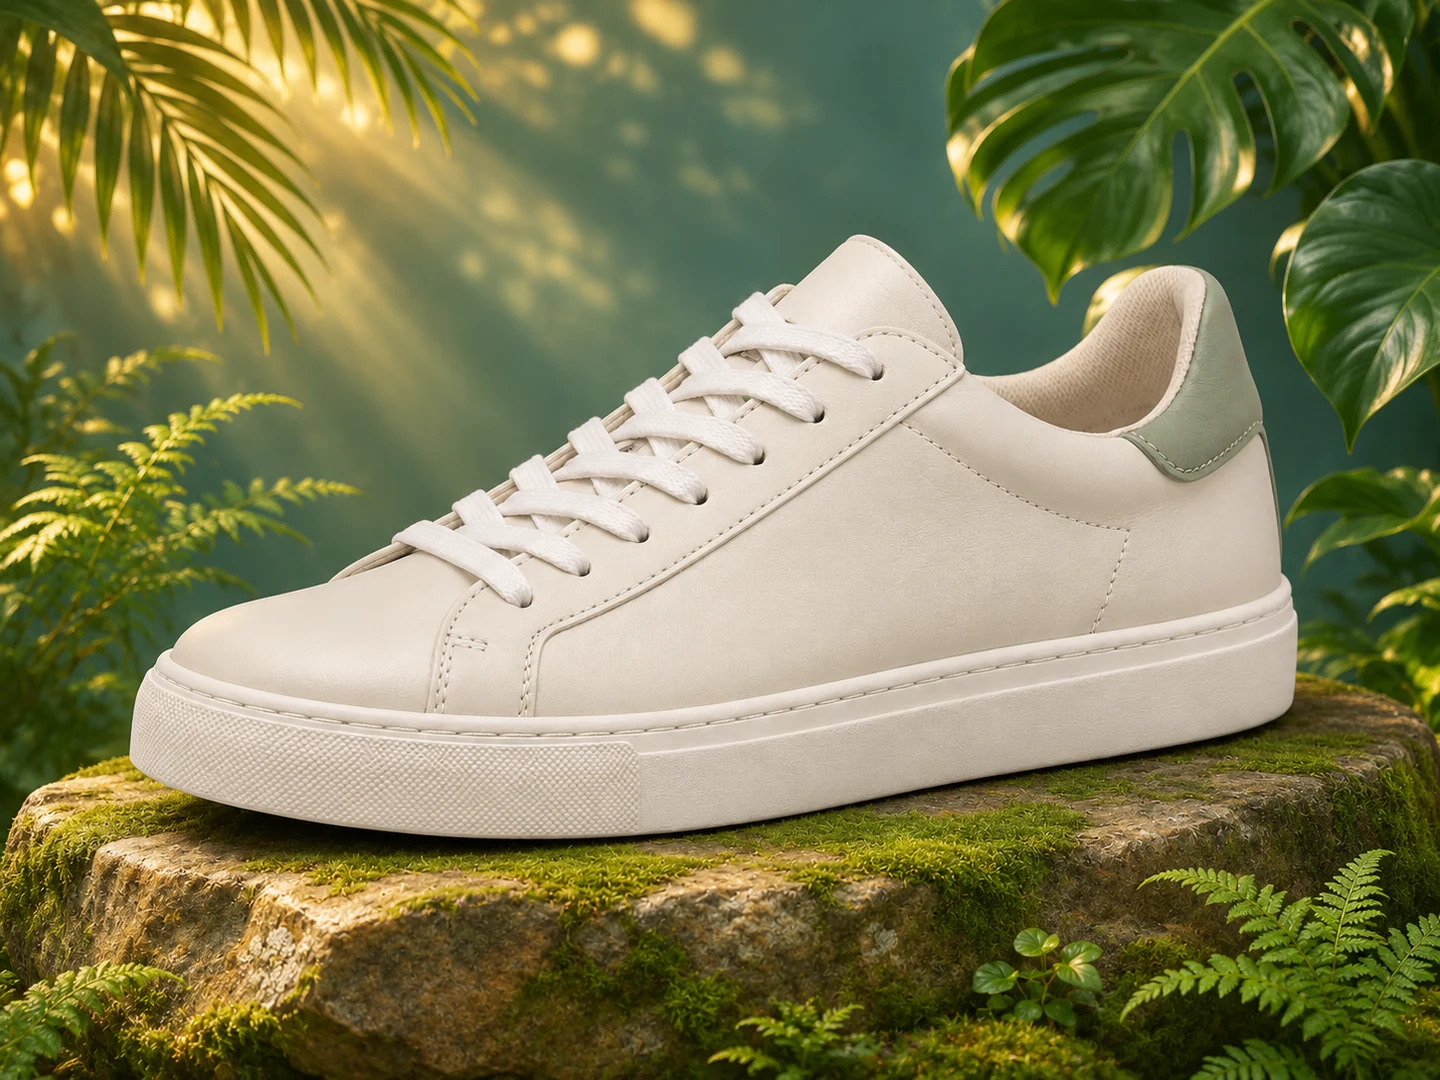
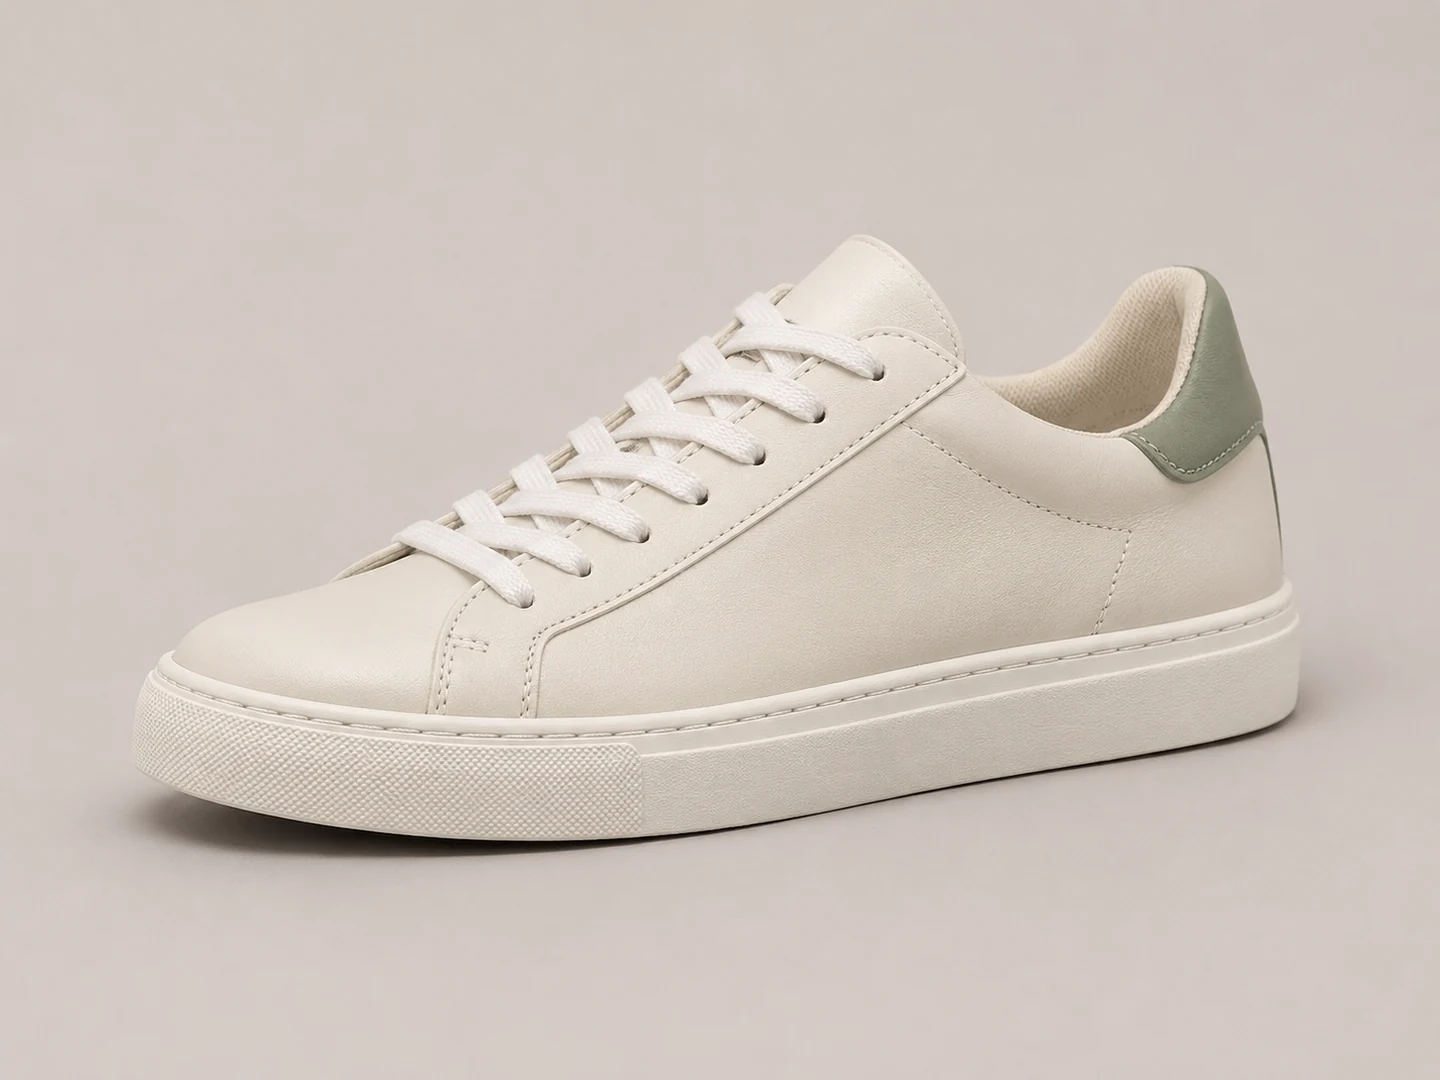
Develop a different backdrop or lighting direction for a product photo. Identify the shape, label and material details that define the product, and describe the new setting separately. Add notes about perspective and contact shadows to make the intended composition clear.
 Creative inspiration
A DIFFERENT LOOK, A FAMILIAR START
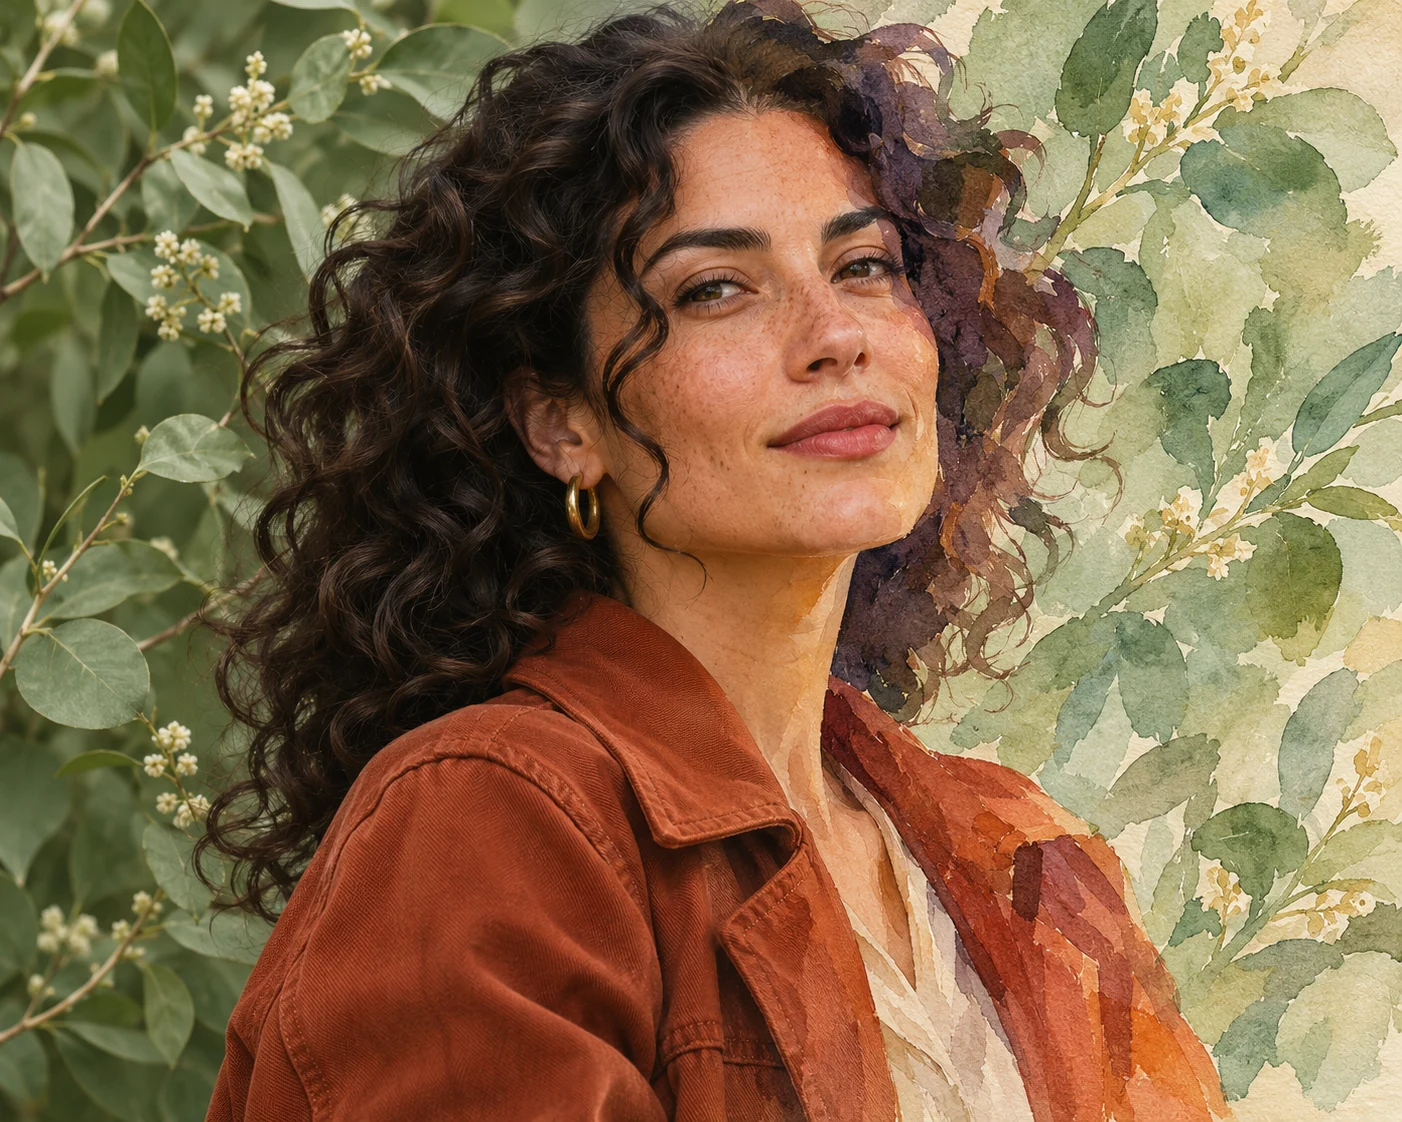
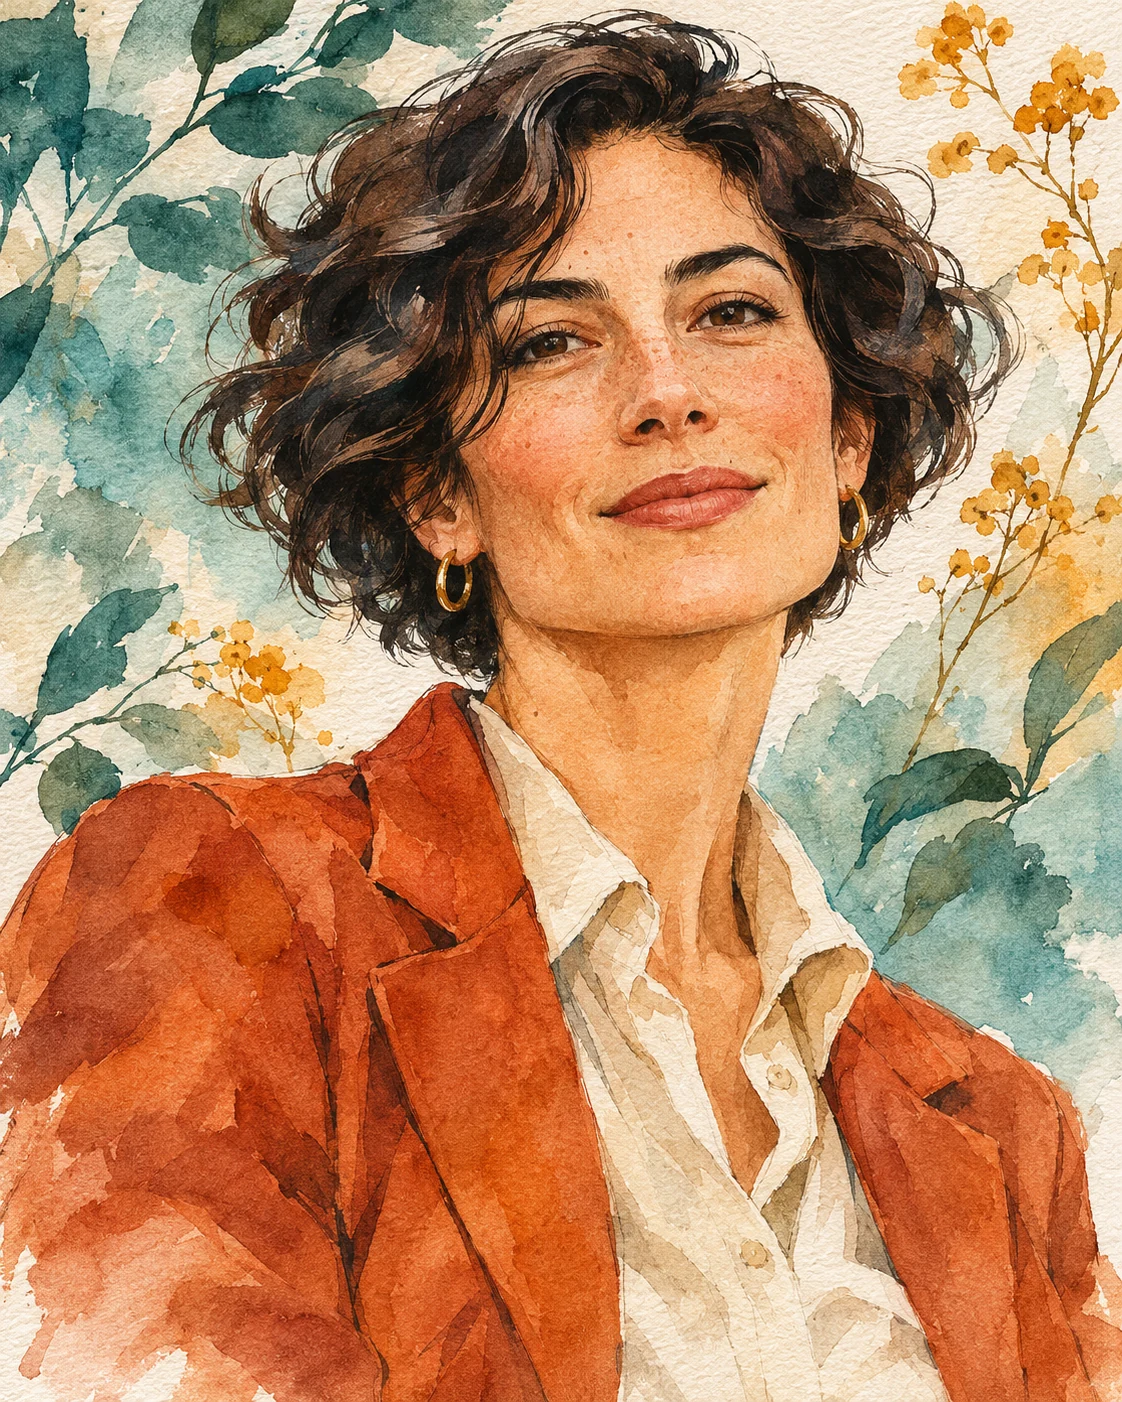
Use your reference to plan a new palette, style or mood. Name the facial features, clothing and composition you want to keep. Pair those details with a clear description of the new rendering style, such as editorial photography, graphite drawing or gouache illustration.
Use these instructions as a starting point. Add your own photo, describe the subject and refine the visual direction.
Preserve the main subject and its proportions. Replace the background with a clean, softly lit studio setting and add a natural contact shadow.
Restyle the reference as a colorful gouache illustration on textured paper. Preserve the main subject and overall composition.
Refine this photo naturally with balanced light and clearer detail. Preserve the subject’s appearance and avoid exaggerated sharpening.
MORE ROOM FOR YOUR IDEAS
Choose your creative pace. Subscribe monthly or save with yearly billing.
For occasional ideas and personal projects.
$19.99 billed monthly
Renews monthly. Cancel renewal from your account.
For creators building a regular visual workflow.
$39.99 billed monthly
Renews monthly. Cancel renewal from your account.
For larger projects and frequent creative iteration.
$79.99 billed monthly
Renews monthly. Cancel renewal from your account.
Standard text-to-image and image-to-image generation use 1 credit per image. Monthly credits refresh with your plan and do not roll over.
Create your first Standard image free. No card or automatic subscription.
A FEW USEFUL ANSWERS
Inputs, availability, output and costs.
Image-to-image generation uses an existing image together with an instruction to guide a new result. Unlike text-to-image, you begin with a visual reference and describe a transformation or edit. The amount of preservation depends on the model and its available controls.
Choose your source image, describe the transformation, and list the details you want to retain. Set the style and aspect ratio around the intended use, such as a product listing, portrait or social post.
The photo selector displays your chosen image in the workspace. You can replace it with another file or remove it while keeping your editing brief. Selecting a file previews it locally. Clicking Generate from image submits that photo and your instructions to Kie for processing.
The upload accepts JPEG, PNG and WEBP files up to 8 MB. Choose an image with a clear subject and enough visible detail to explain the change you want.
Name specific features: the shape of a product, exact label text, the subject’s pose or the placement of important objects. Separate those details from the changes you want, and use short, direct instructions.
Selecting a reference photo, writing instructions and changing settings are free and do not create a paid processing task. Subscription options use monthly or yearly billing, with credits refreshed monthly. Standard generation uses 1 credit per image after your first successful free image.
Study the subject, lighting, background and composition, then adapt the accompanying instruction to your own photograph. The artwork and before-and-after product example illustrate creative directions you can explore with your own photo.
Practical photo editing guides for cleaner backgrounds, finer detail and sharper images.
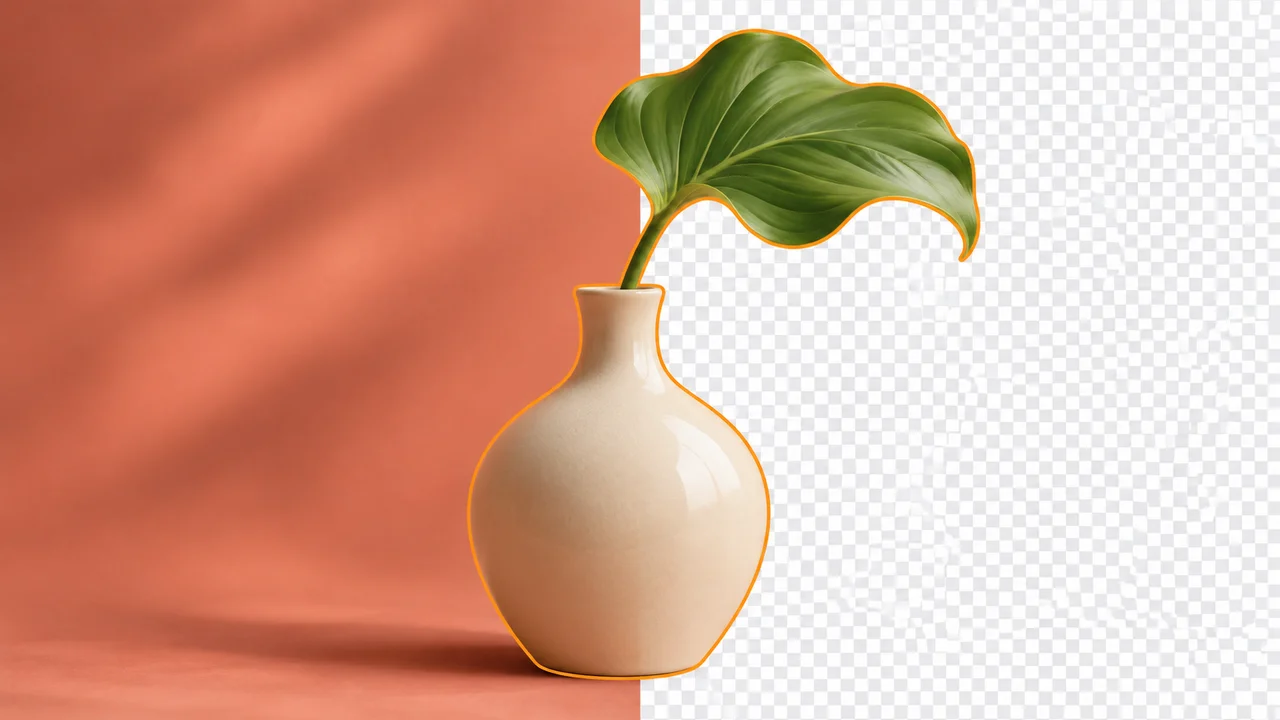
BACKGROUND REMOVAL
Select your subject, refine difficult edges, and export a clean transparent image.
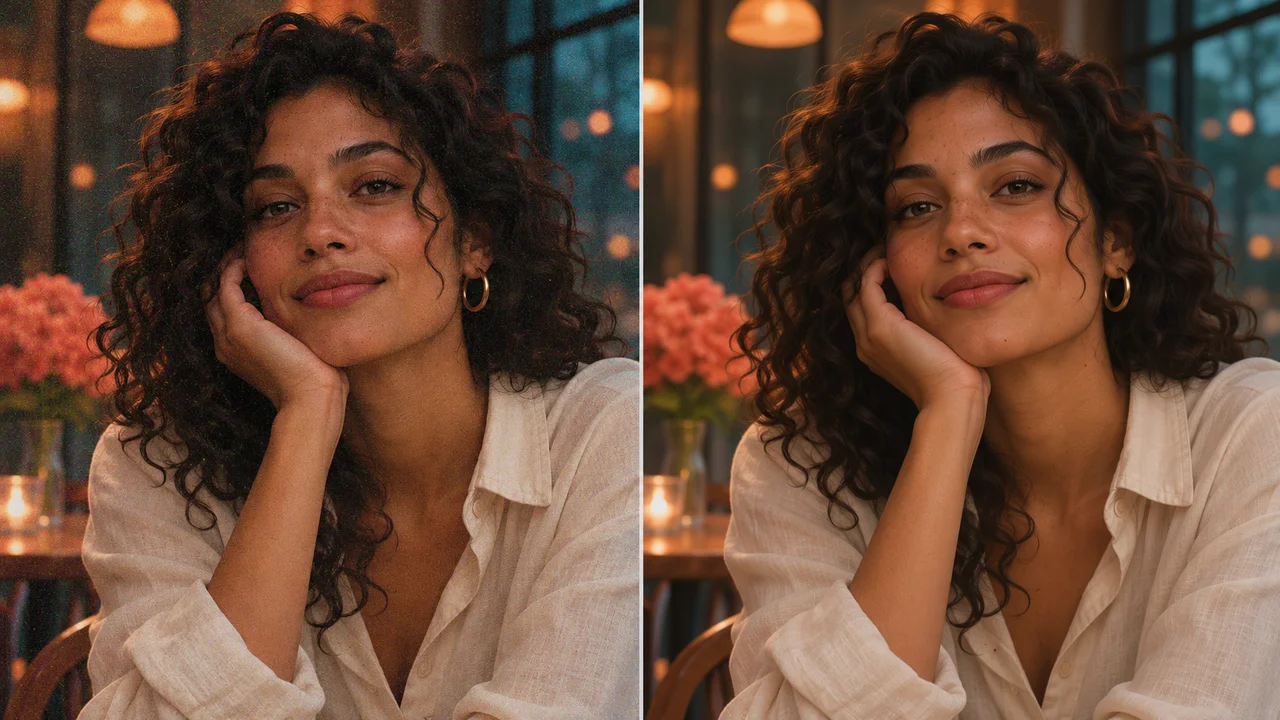
PHOTO ENHANCEMENT
Reduce distracting noise while keeping skin texture, hair, and fine details natural.
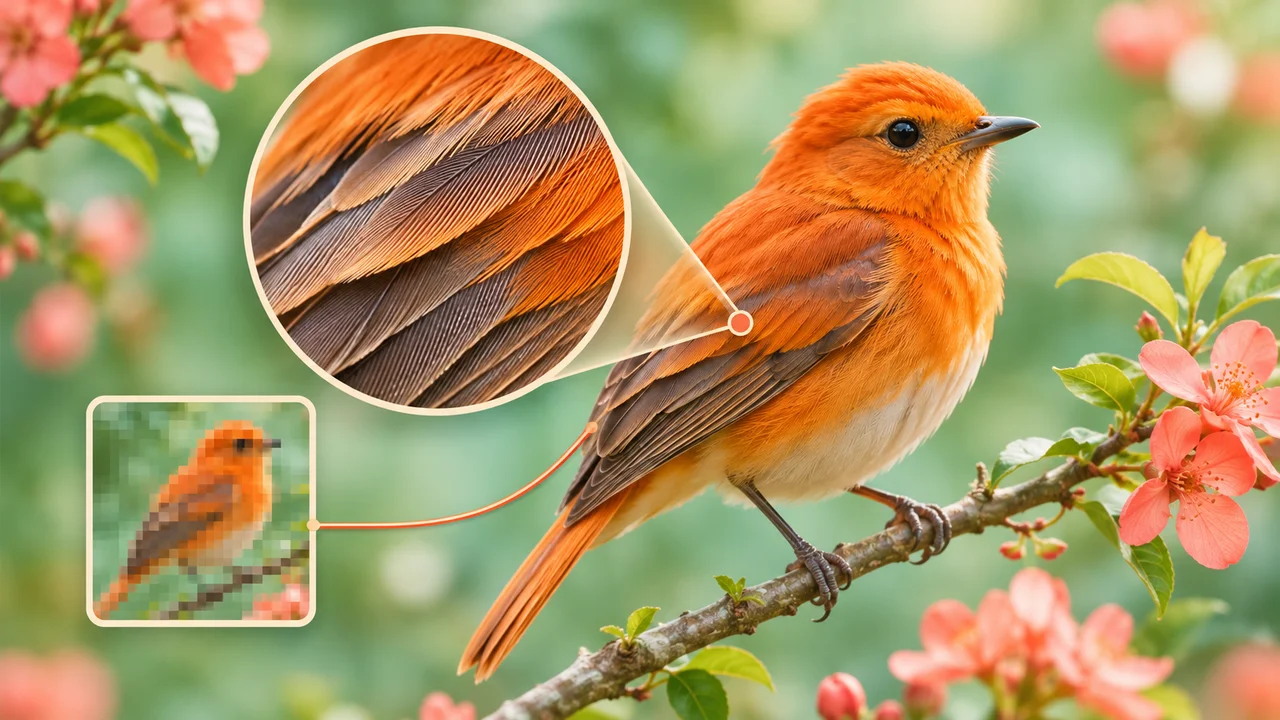
IMAGE RESOLUTION
Understand pixel dimensions, choose an enlargement method, and inspect the final detail.
Upload a photo, describe your changes and create a new image.