BACKGROUND REMOVAL
How to Remove Background from an Image
Select your subject, refine difficult edges, and export a clean transparent image.
Quick answer
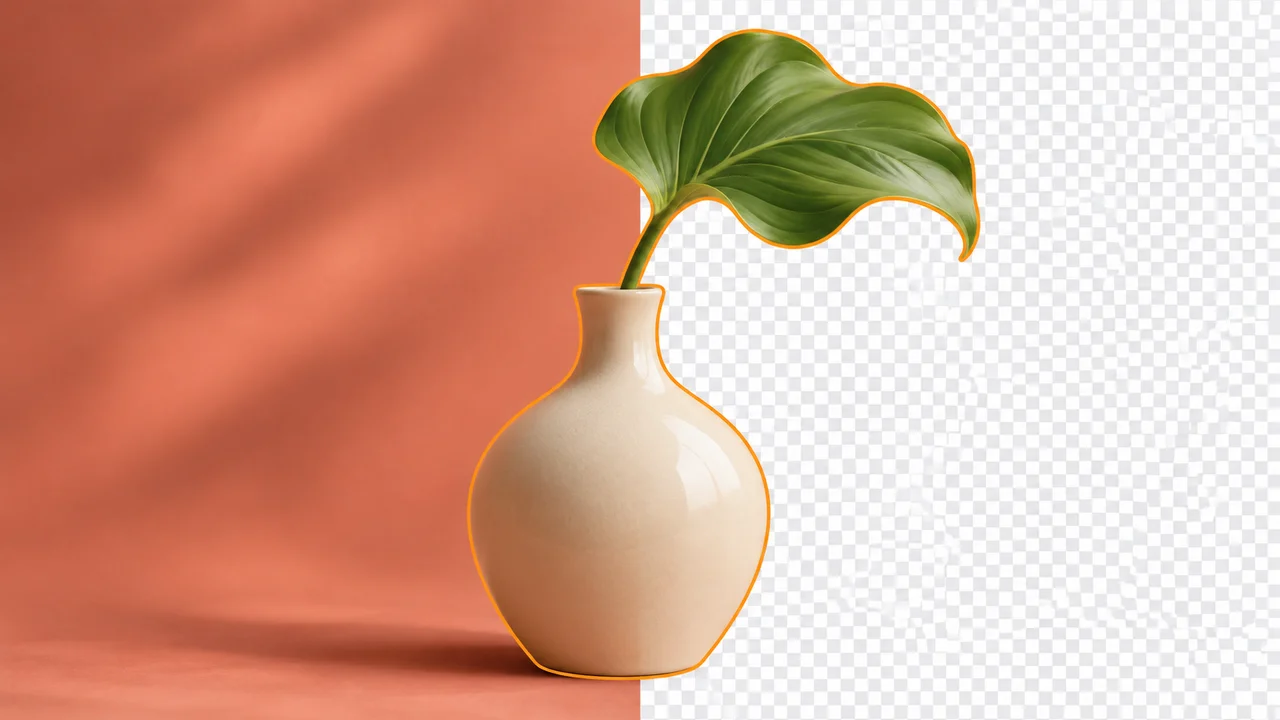
To remove a background from an image, select the subject, hide the surrounding area with a mask, refine the edges, and export a format that preserves transparency, such as PNG. Check the cutout on both a light and a dark background before saving.
A useful cutout keeps the subject intact while separating it from its surroundings. The outline matters as much as the empty background: a clean product edge, a strand of hair, or a small gap between objects can decide whether the final image feels convincing. Work from the original photo and keep an editable copy so you can revisit those details.
What you’ll need
- The largest available original photo, rather than a screenshot or a messaging-app preview.
- An image editor with subject selection and layer masks.
- A clear idea of the final use: transparent asset, product listing, or a new background.
Remove the background in six steps
Choose a clear source image
Look for a visible subject and a reasonably distinct outline. Before selecting anything, inspect the photo for cropped edges, motion blur, or objects touching the frame. Decide whether accessories and small details belong in the cutout. A saved list of those details makes the later review more consistent.
Make the first subject selection
Start by selecting the main subject or marking the area you want to keep. Include small parts such as handles, straps, and spaces between leaves. Check the complete outline before refining individual edges; a quick first pass helps you spot what needs closer attention.
Keep the edit in a mask
Keep an editable selection or mask so you can restore details without rebuilding the entire cutout. In a standard layer mask, white areas reveal the subject and black areas hide the surroundings. Save the untouched photo separately and compare it with the cutout when an edge is unclear.
Refine the difficult edges
Look closely at hair, leaves, fabric fringes, handles, and gaps between the subject’s parts. Correct missing pieces and unwanted background along the outline. Use small, deliberate adjustments; a uniformly hard edge rarely suits every material. Zoom out regularly so the cutout still reads naturally as a complete object.
Preview the intended background
Check the result against white, dark gray, and the actual destination color if you know it. Watch for pale fringes, dark outlines, and accidental holes. For a product listing, consider whether the object needs a separate contact shadow to sit naturally in the new composition.
Export and reopen the result
Use PNG when you need an image with transparency. Keep an editable project file as well. Reopen the exported asset in an application that shows transparency and place it over another color. Confirm the image dimensions and the full outline, rather than relying only on a successful export message.
Check before you export
- The subject is complete, including handles, straps, and narrow gaps.
- No obvious fringe remains against the destination background.
- The canvas has enough room around the subject for its intended placement.
- The exported file has the required dimensions and transparency.
Common mistakes to avoid
Confusing white with transparent
A white rectangle behind the subject is still a background. Place the exported image over a contrasting color to check that the surrounding area is actually transparent.
Rushing the finishing pass
Give hair, leaves, and reflective edges their own inspection. Save a version before the last adjustments so you can compare your choices without rebuilding the selection.
Frequently asked questions
Can I remove a background for free?
Free background-removal options vary in their export limits, image dimensions, and edge controls. Check that your chosen workflow can save a transparent file at the size you need. Hair and busy backgrounds often require a careful finishing pass.
Should I save a transparent image as PNG or JPEG?
Choose PNG for a transparent cutout. JPEG does not preserve transparency. Keep a separate editable project file if you expect to adjust the mask or composition later.
Why is there a halo around my subject?
Part of the original background may remain along the edge, or the edge may blend poorly with the new background. Recheck the mask against contrasting colors and refine those specific areas.
Can I put the subject on a new background afterward?
Yes. Keep the subject and its mask on a separate layer so you can position a new background behind it. Review the lighting, perspective, and contact shadow as part of the new composition.